
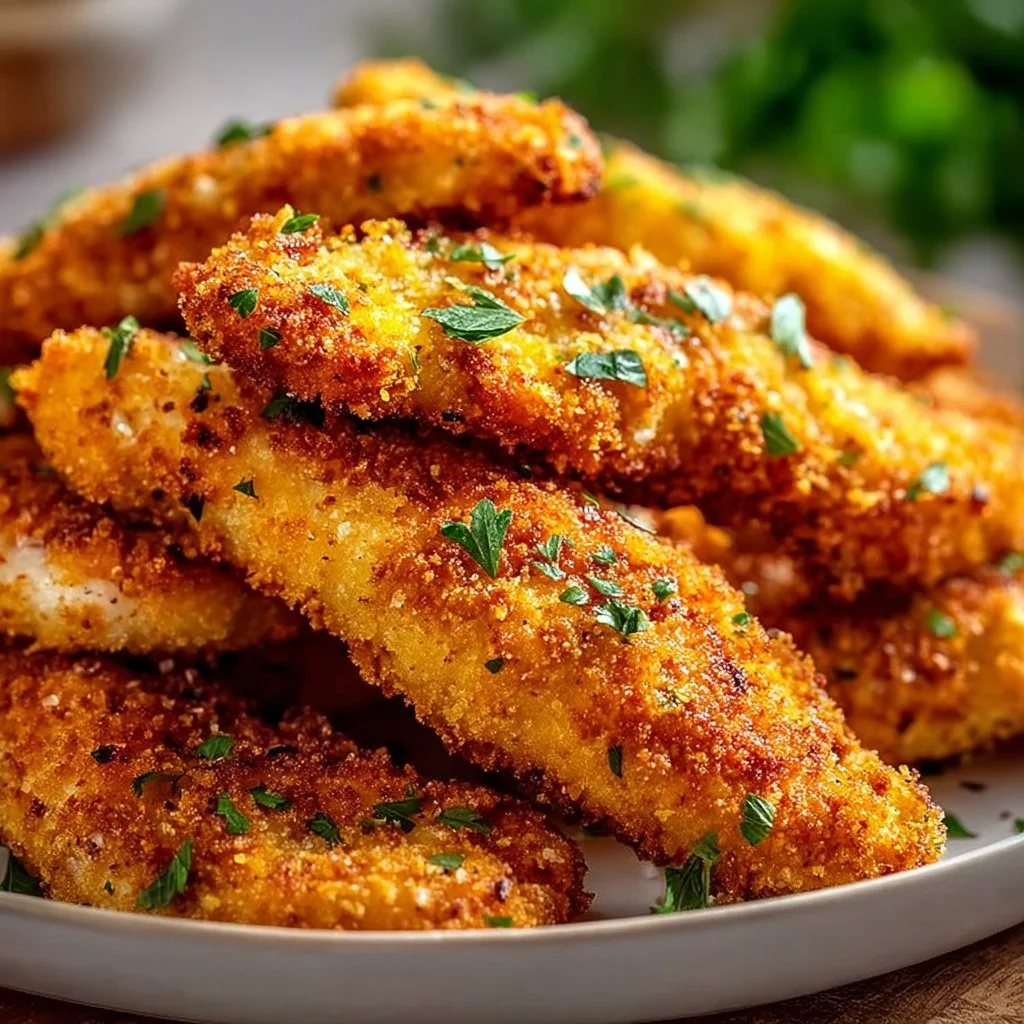
Homemade Baked Chicken Tenders is a crowd-pleasing, oven-baked strip of seasoned chicken coated in a crunchy crust that’s lighter than fried versions and perfect for weeknights, lunchboxes, or game-day snacks. Homemade Baked Chicken Tenders are easy to parade onto any table with simple pantry ingredients and a family-friendly crunch.
Homemade Baked Chicken Tenders bring the comfort of classic fried tenders but use the oven so you get less mess and more time to enjoy the meal. Homemade Baked Chicken Tenders make a great base for sauces, dips, or a salad topping when you want something satisfying without a deep fryer.
What follows is a warm, practical guide that keeps things simple and flavorful. If you love a crispy exterior without frying, this recipe will become a go-to. For another baked chicken idea with juicy meat and roasted flavor, check this simple thigh recipe: 30-Min Oven-Baked Boneless Skinless Chicken Thighs.
Table of Contents
What Makes This Recipe So Special
These tenders balance crisp, golden coating and juicy chicken – the result of a light brine, a seasoned flour layer, and a panko-parmesan crust that browns beautifully at a high oven temperature. The technique avoids soggy breading and keeps the inside tender. It’s perfect for kids and adults alike, and it’s built to be customizable. If you prefer darker meat or richer flavor, you might enjoy the texture tips in this baked thigh guide: Baked Boneless Skinless Chicken Thighs.
Ingredients
- 1 1/2 pounds chicken tenders (or chicken breast cut into strips)
- 1 cup buttermilk (or 1 cup milk + 1 tbsp lemon juice, rested 5 minutes)
- 1 teaspoon salt
- 1/2 teaspoon black pepper
- 1 teaspoon garlic powder
- 1 teaspoon onion powder
- 1 teaspoon smoked paprika
- 1 cup all-purpose flour
- 1 1/2 cups panko breadcrumbs
- 1/2 cup grated Parmesan cheese
- 2 large eggs
- 2 tablespoons olive oil or melted butter (for brushing)
- Cooking spray or a little extra oil for the pan
Equipment
- Baking sheet (rimmed)
- Wire rack that fits inside the baking sheet (for crisping)
- Three shallow bowls for dredging
- Tongs or fork for coating pieces
- Meat thermometer (recommended)
Why This Recipe Works
The brine-like soak in buttermilk loosens proteins on the chicken surface so the coating sticks and the meat stays moist. A triple-dredge system – flour, egg, then panko-parmesan – gives structure so the crumbs brown and stay crisp in the oven. Baking on a rack allows air to circulate so bottoms don’t go soggy. High heat finishes the exterior quickly while keeping the interior tender. These small technique details turn simple ingredients into something spectacular.
Preparation Notes
- If using frozen tenders, fully thaw and pat dry.
- For extra flavor, add 1/2 teaspoon cayenne to the flour if you like heat.
- For a gluten-free option, swap flour for rice flour and use gluten-free panko.
Step 1 – Brine and Season
Brine: Combine buttermilk, 1/2 teaspoon salt, 1/4 teaspoon pepper, and 1/2 teaspoon smoked paprika in a bowl. Add chicken and refrigerate for 20-30 minutes – this is the key to juicy meat and helps the coating adhere.
Step 2 – Setup Dredging Station
Prep dredges:
- Bowl 1 – flour mixed with garlic powder, onion powder, and remaining salt and pepper.
- Bowl 2 – beaten eggs.
- Bowl 3 – panko mixed with Parmesan and a pinch of smoked paprika.
Step 3 – Coat the Tenders
Dredge method: Remove each tender from the buttermilk, let excess drip, then roll in flour – shake off excess – dip in egg – press into panko mixture so crumbs adhere well. Place on a wire rack while you repeat.
Step 4 – Rest and Chill
Brief chill: Let coated tenders rest 10-15 minutes on the rack so the coating sets – this helps prevent flaking during baking.
Step 5 – Preheat and Bake
Preheat oven: 425°F (220°C). Arrange rack in the center. Lightly spray or brush the tenders with olive oil or melted butter to help browning. Bake 12-15 minutes until crust is golden and internal temperature reads 165°F (74°C). Flip once at around 8 minutes for even browning if your rack leaves marks.
Step 6 – Finish and Crisp
Final crisp: If you want extra brown crust, switch to broil for 1-2 minutes watching closely. Remove and rest 2-3 minutes before serving.
Helpful Tips and Troubleshooting
- For the crispiest crust, use panko – it creates larger, airier flakes that brown nicely.
- If the coating is flaking off, your chicken may have been too wet – pat dry before dredging and press crumbs firmly when coating.
- If tenders brown too fast but are undercooked, lower the oven to 400°F and lengthen baking time slightly.
- To reheat leftover tenders and keep them crisp, use a 375°F oven for 10 minutes on a rack.
- Personal anecdote – I learned to double-coat for parties: after the first panko layer, chill 10 minutes and dip back in egg and panko for ultra-crunchy fingers.
Serving Suggestions
Serve with a trio of dips – honey mustard, ranch, and spicy ketchup – alongside carrot and celery sticks for classic appeal. You can also slice and layer over a kale Caesar salad for a lighter meal. For a sandwich, tuck tenders into toasted buns with slaw and pickles. A helpful mid-article reminder: Homemade Baked Chicken Tenders are excellent when paired with fries or a simple green salad.
Storage and Make-Ahead
- Refrigerate cooked tenders in an airtight container for up to 3 days.
- Freeze fully cooked tenders in a single layer on a baking sheet until solid, then transfer to a freezer bag for up to 3 months. Reheat from frozen at 375°F for 12-15 minutes.
Nutrition (per serving, approximate)
- Calories: 320
- Protein: 28 g
- Fat: 14 g
- Carbohydrates: 16 g
- Fiber: 1 g
Food Safety
- Always cook chicken to an internal temperature of 165°F (74°C).
- Avoid cross-contamination – use separate boards for raw chicken and veggies.
- Wash hands and utensils thoroughly after handling raw poultry.
Frequently Asked Questions
Can I use chicken breast instead of tenders?
Yes – slice breasts into 1-inch thick strips so they cook evenly.
Can I make these gluten-free?
Substitute rice flour for the all-purpose and use gluten-free panko.
How do I keep them crispy for a potluck?
Keep warm on a rack in a low oven (200°F) and re-crisp under the broiler right before serving.
Do I need buttermilk?
It’s recommended for tenderness, but you can make a quick substitute with milk and lemon juice.
Conclusion
This recipe for Homemade Baked Chicken Tenders gives you a dependable, weeknight-friendly way to get golden, crispy chicken without frying – a great balance of convenience and flavor. It’s easy to scale, kid-approved, and versatile as a snack, main, or sandwich filling.
If you’d like another method for extra-crispy results, check the detailed guide at Truly Crispy Oven Baked Chicken Tenders – RecipeTin Eats (Truly Crispy Oven Baked Chicken Tenders – RecipeTin Eats). If you tried this recipe, please leave a comment and a star rating below – what did you pair yours with? Share this on Pinterest or Facebook if it made dinner easier or tastier! What variations did you try? Let us know below.
Baked Chicken Tenders
Ingredients
Method
- Combine buttermilk, 1/2 teaspoon salt, 1/4 teaspoon pepper, and 1/2 teaspoon smoked paprika in a bowl. Add chicken and refrigerate for 20-30 minutes.
- Prep three shallow bowls for dredging: Bowl 1 with flour mixed with garlic powder, onion powder, and remaining salt and pepper; Bowl 2 with beaten eggs; Bowl 3 with panko mixed with Parmesan and a pinch of smoked paprika.
- Remove each tender from the buttermilk, let excess drip, then roll in flour.
- Dip in egg and press into panko mixture so crumbs adhere well. Place on a wire rack.
- Let coated tenders rest for 10-15 minutes on the rack.
- Preheat oven to 425°F (220°C). Lightly spray or brush the tenders with olive oil or melted butter.
- Bake for 12-15 minutes until crust is golden and internal temperature reads 165°F (74°C). Flip once at around 8 minutes.
- For extra brown crust, switch to broil for 1-2 minutes, watching closely. Remove and let rest for 2-3 minutes before serving.